The Mind of Robbie
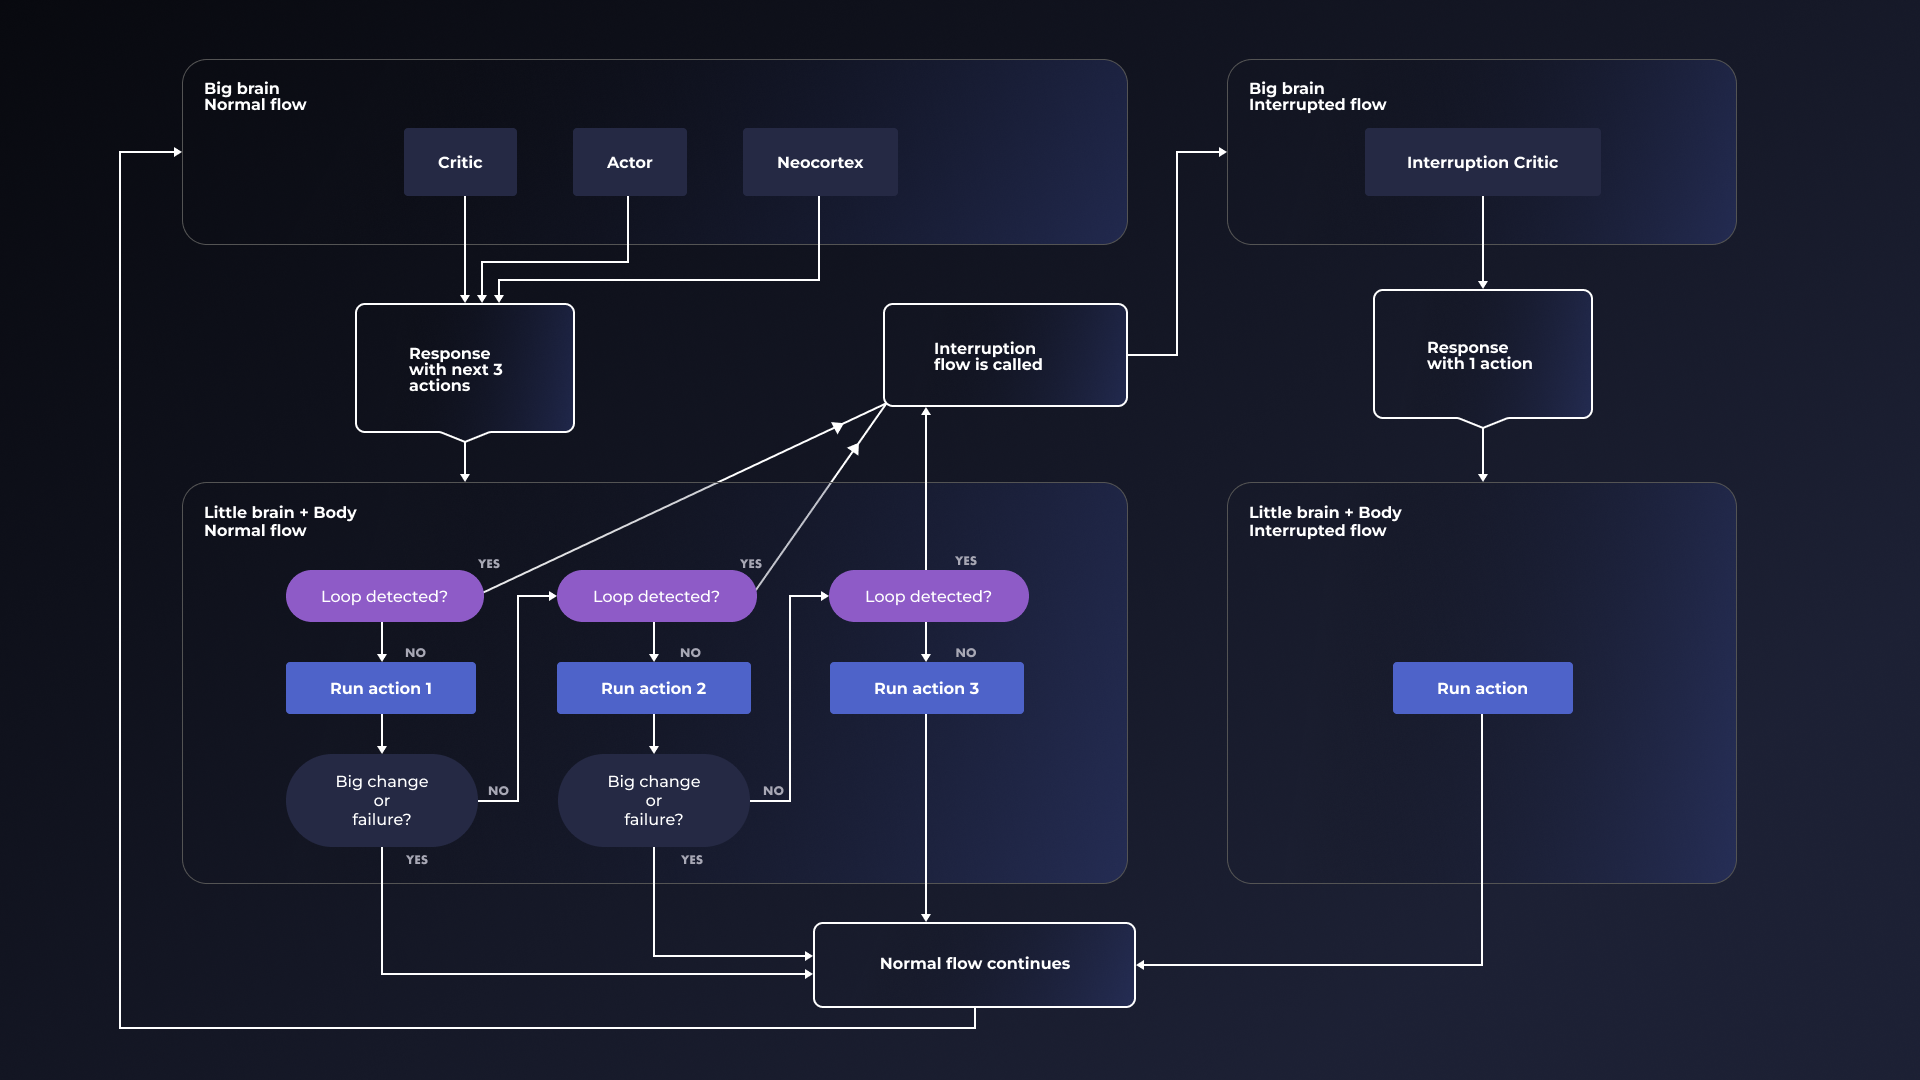
While many teams are using the “team of agents” approach, like the excellent CrewAI team, and getting some cool results, we prefer modeling the parts of the brain in our agents, similar to the “thousand brains” approach of making decisions through consensus of different parts of the “mind” of the agent that excel at different pieces of the puzzle. We divide our Gen 2 agent into the following:- Actor
- Critic
- Neocortex
- Body
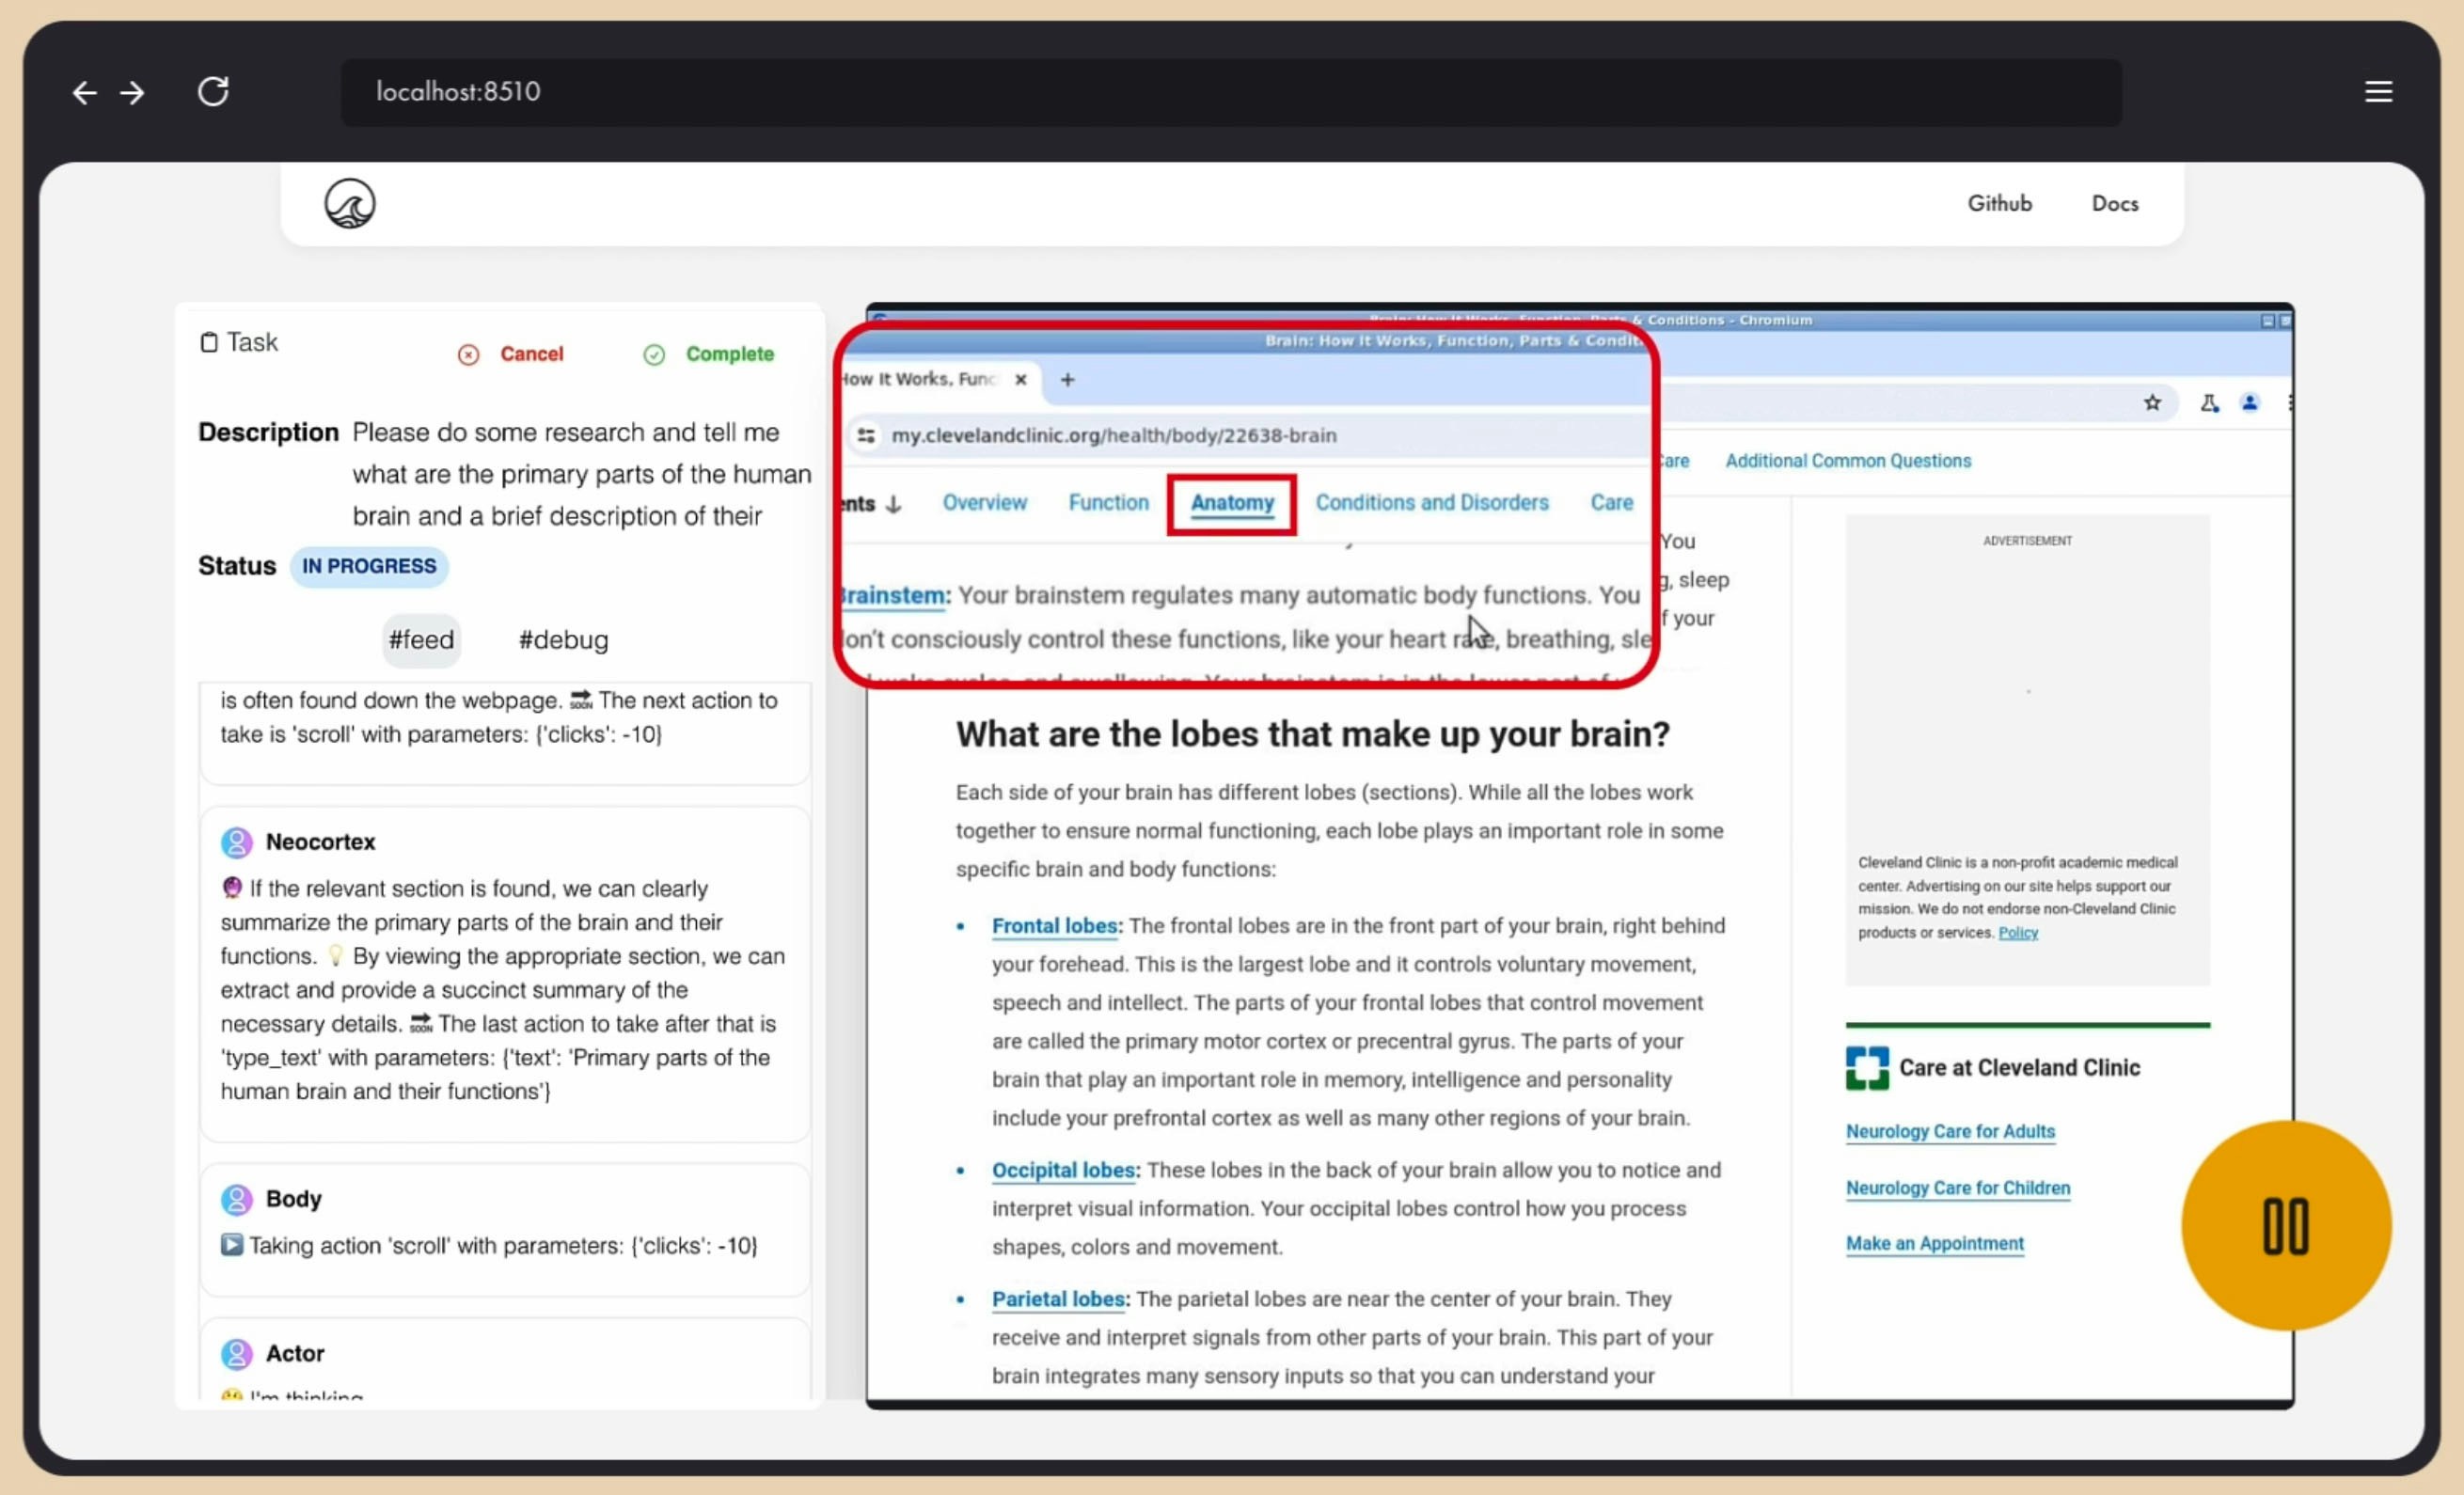
How Robbie Sees the World
Robbie is a pure multimodal bot. Like a Tesla car, he makes decisions only by what he sees and reads. Most of the agents out there today use something like Playwright to script browser interactions. That’s a cool approach and you can easily use Playwright as a loadable device/tool in the AgentSea ToolFuse protocol but this doesn’t help if you want to click around a desktop or a mobile app. For that we knew we needed a pure multimodal approach. Just one problem. We discovered that models like GPT-4/4o and Claude Opus/Sonnet are absolutely terrible at three key things:- Returning coordinates
- Moving the mouse
- Drawing bounding boxes.
- By “cheap” we mean quick, dirty and fast.
- By “expensive” we mean round trips to the cloud and using heavier/slower frontier models or big open source models to get what we want.
OCR Positioning
This is our absolute favorite cheap method and it’s lightning fast when it works. A few months ago I wondered if we could use the position of OCRed text as a way to get coordinates for buttons and links. Turns out we can. Many models and libraries like, Tesseract, support getting text position back. Unfortunately, most of them are not very good at accurately OCRing and giving coordinates. That set us off on a search to find the right model. Some were too big and too slow and most of them just, well, kinda sucked. And then we hit on EasyOCR. It is God like at finding text accurately and it is super fast and lightweight. When we first ran it through our test suite of GUI images and it came back with 100% we thought it was a mistake but subsequent tests proved its very strong (though not 100% in real world settings by any means.)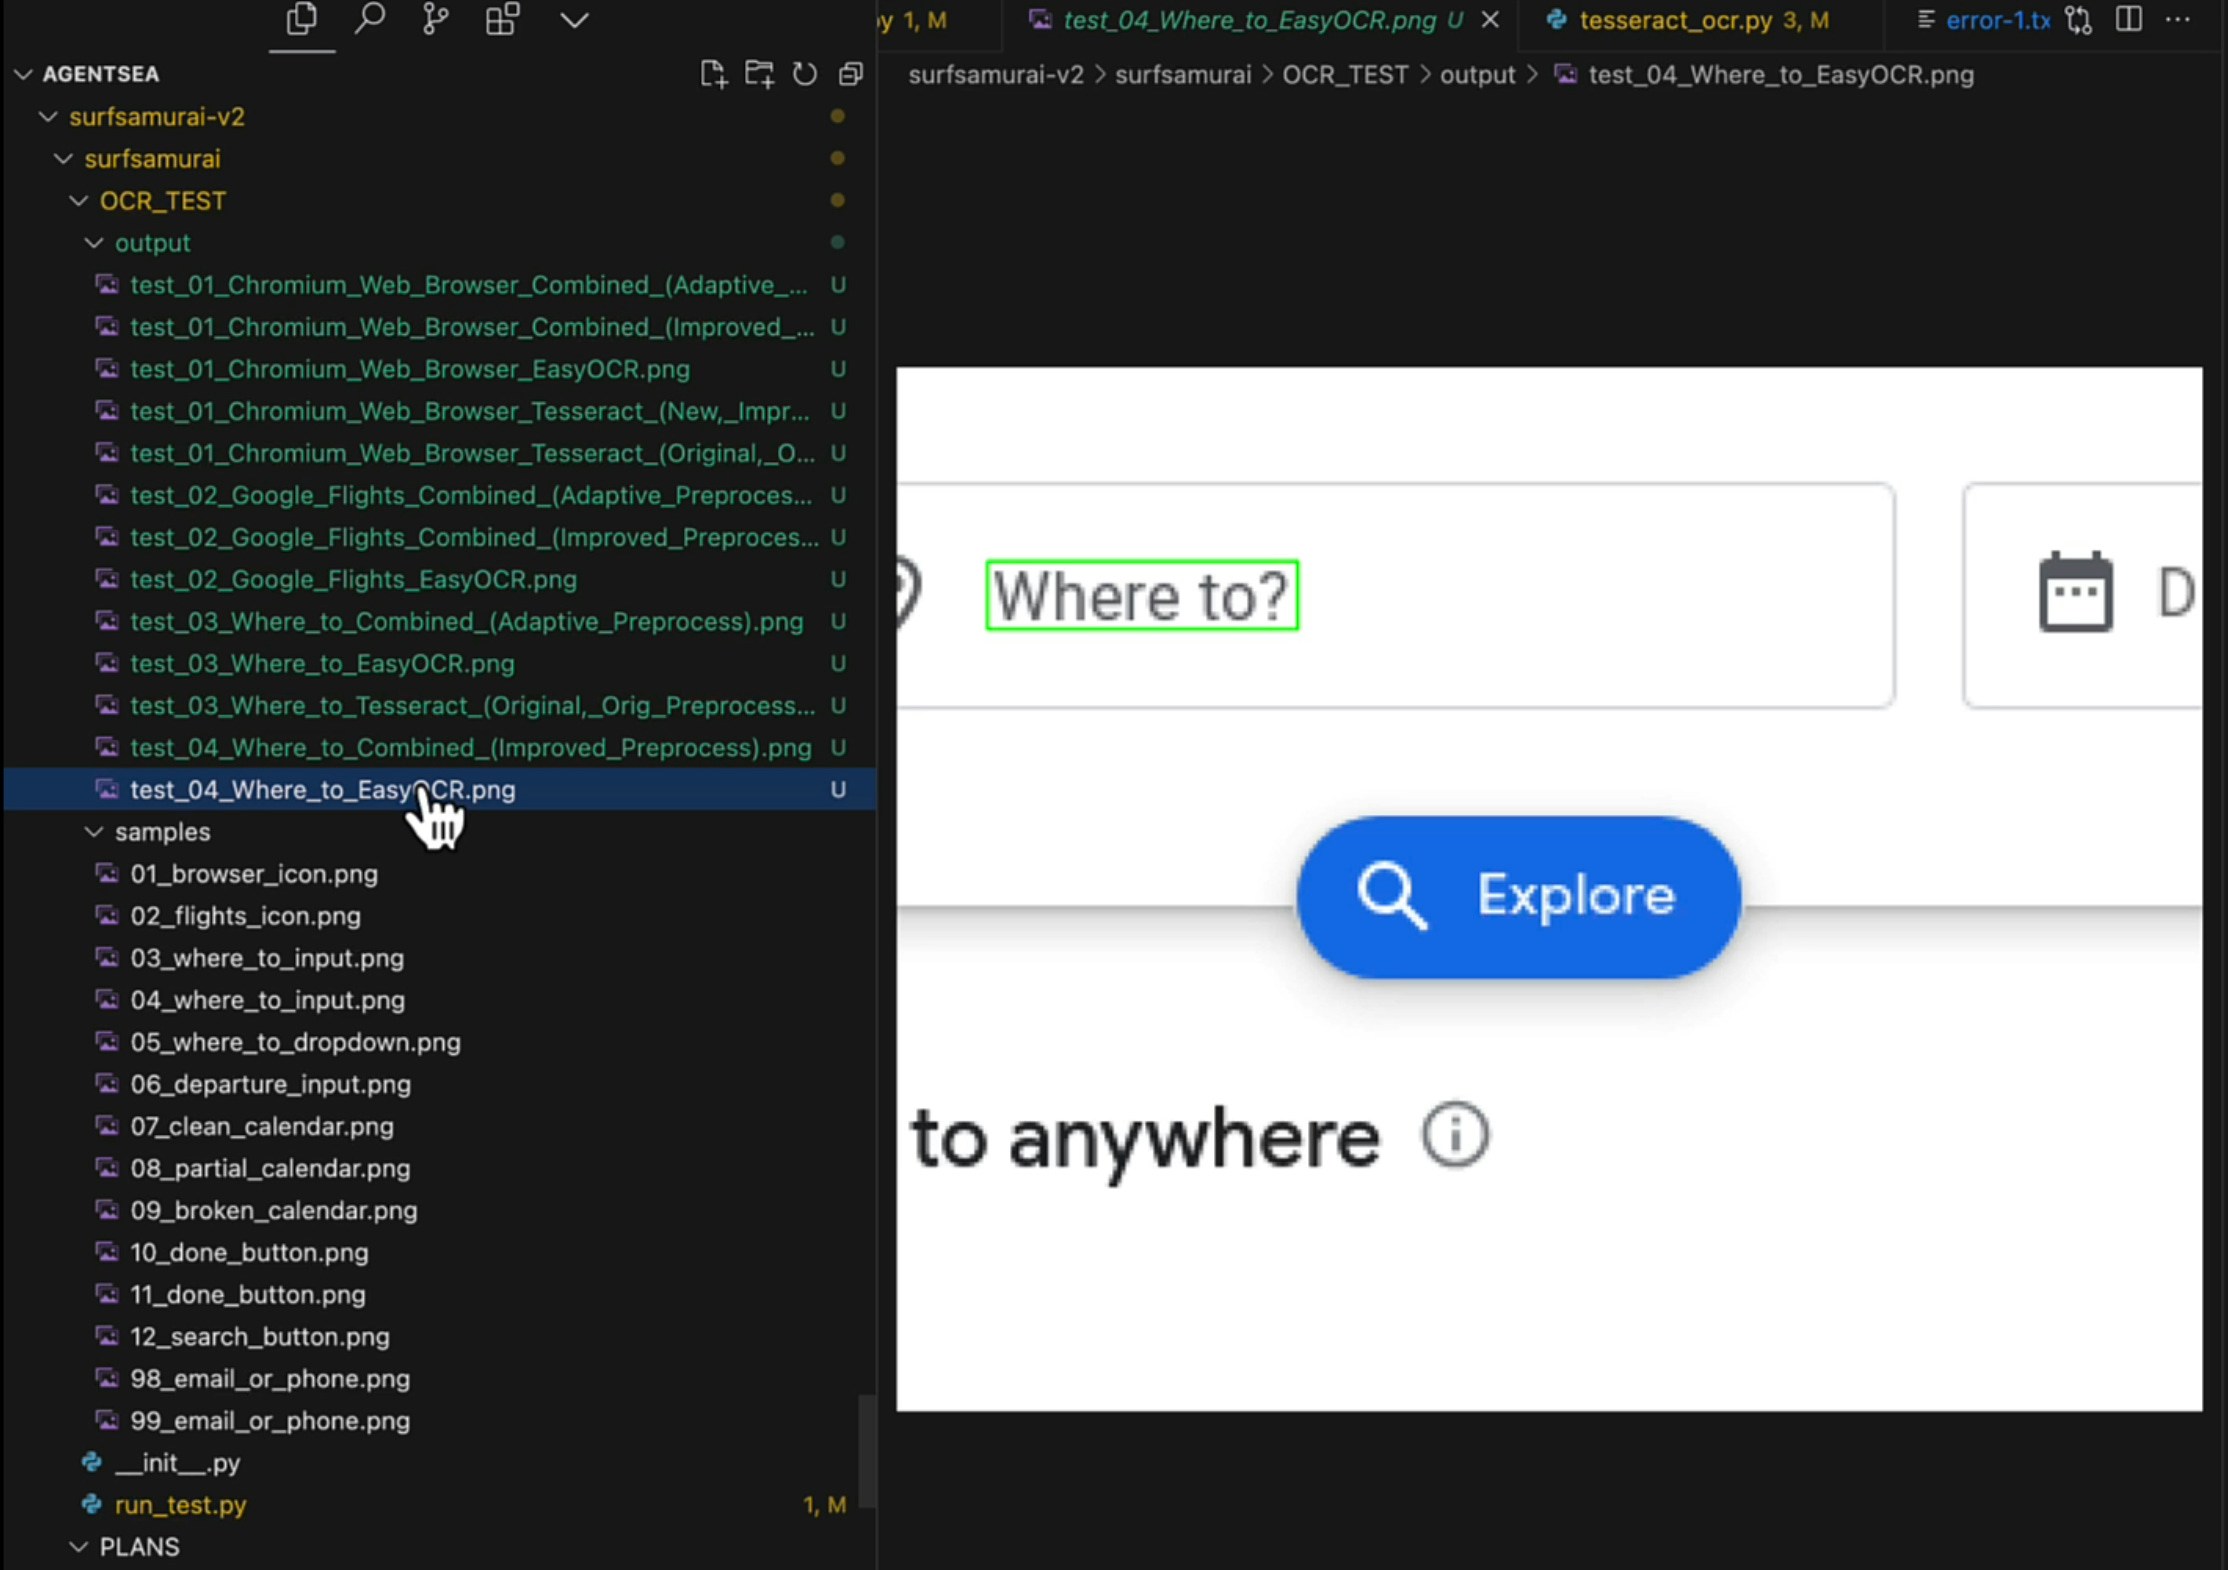
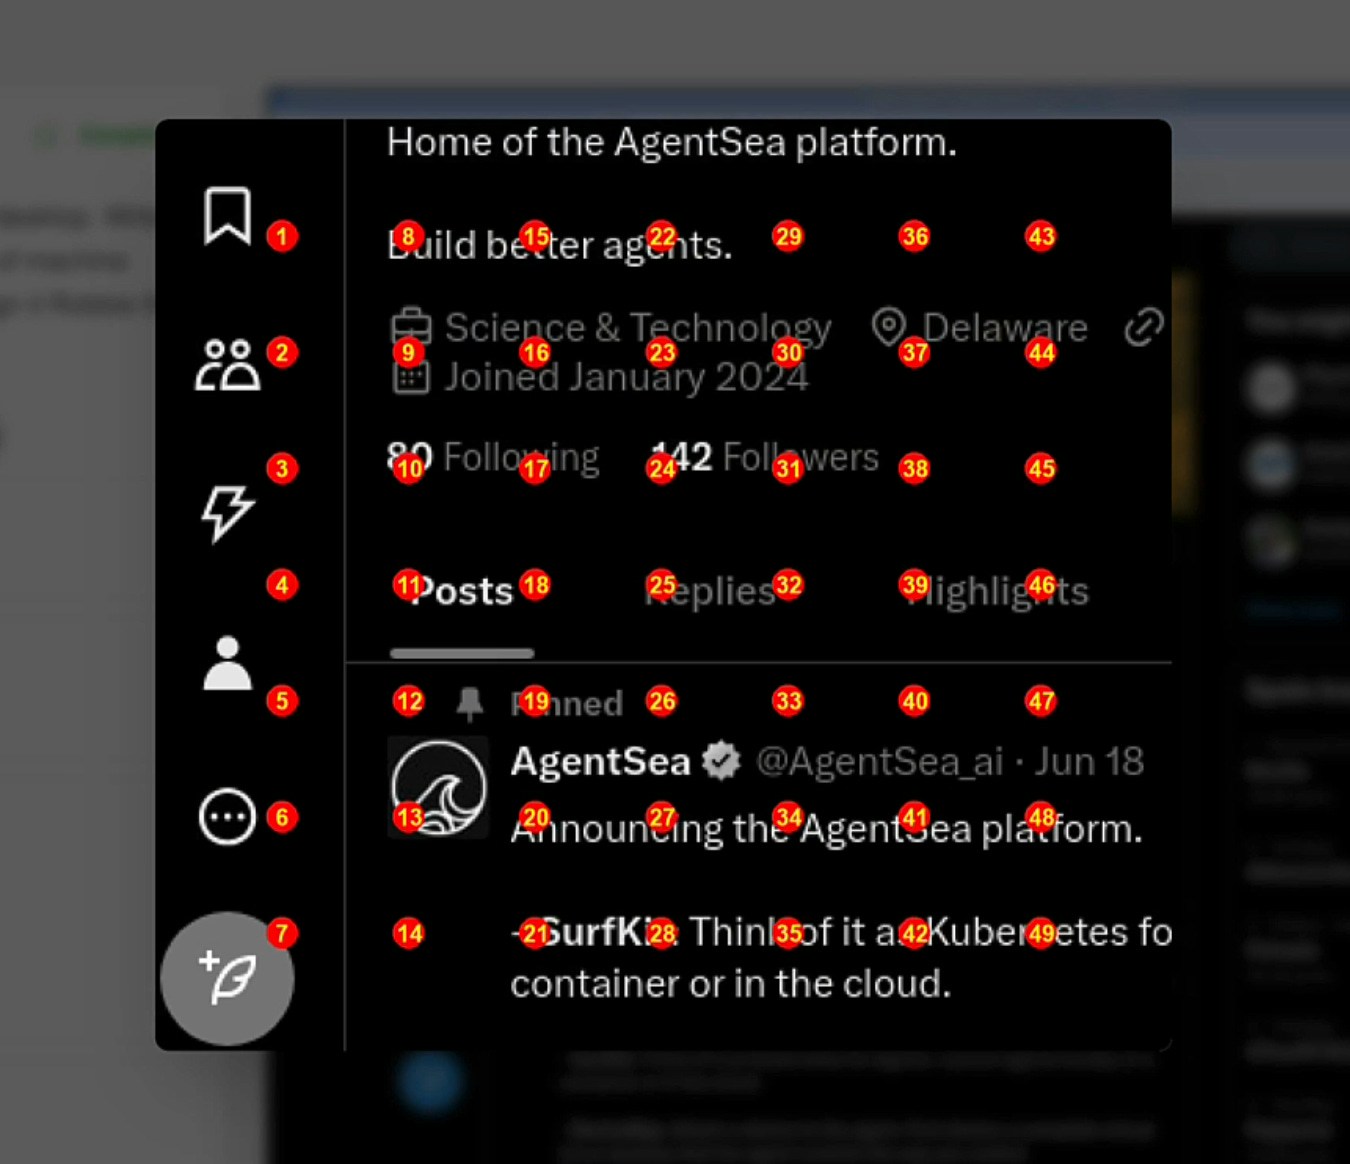
The Grid at the Center of it All
While models are not very good at knowing precisely where to click they are good at knowing approximately where to click. They can tell you that the search button is in the middle of the page or on the lower left corner. So we help the model do this with much better precision by layering a bunch of dots with over the image and ask it to pick the number closest to the thing its looking for right now. Honestly, it’s easier to show than to explain because it makes intuitive sense when you see it: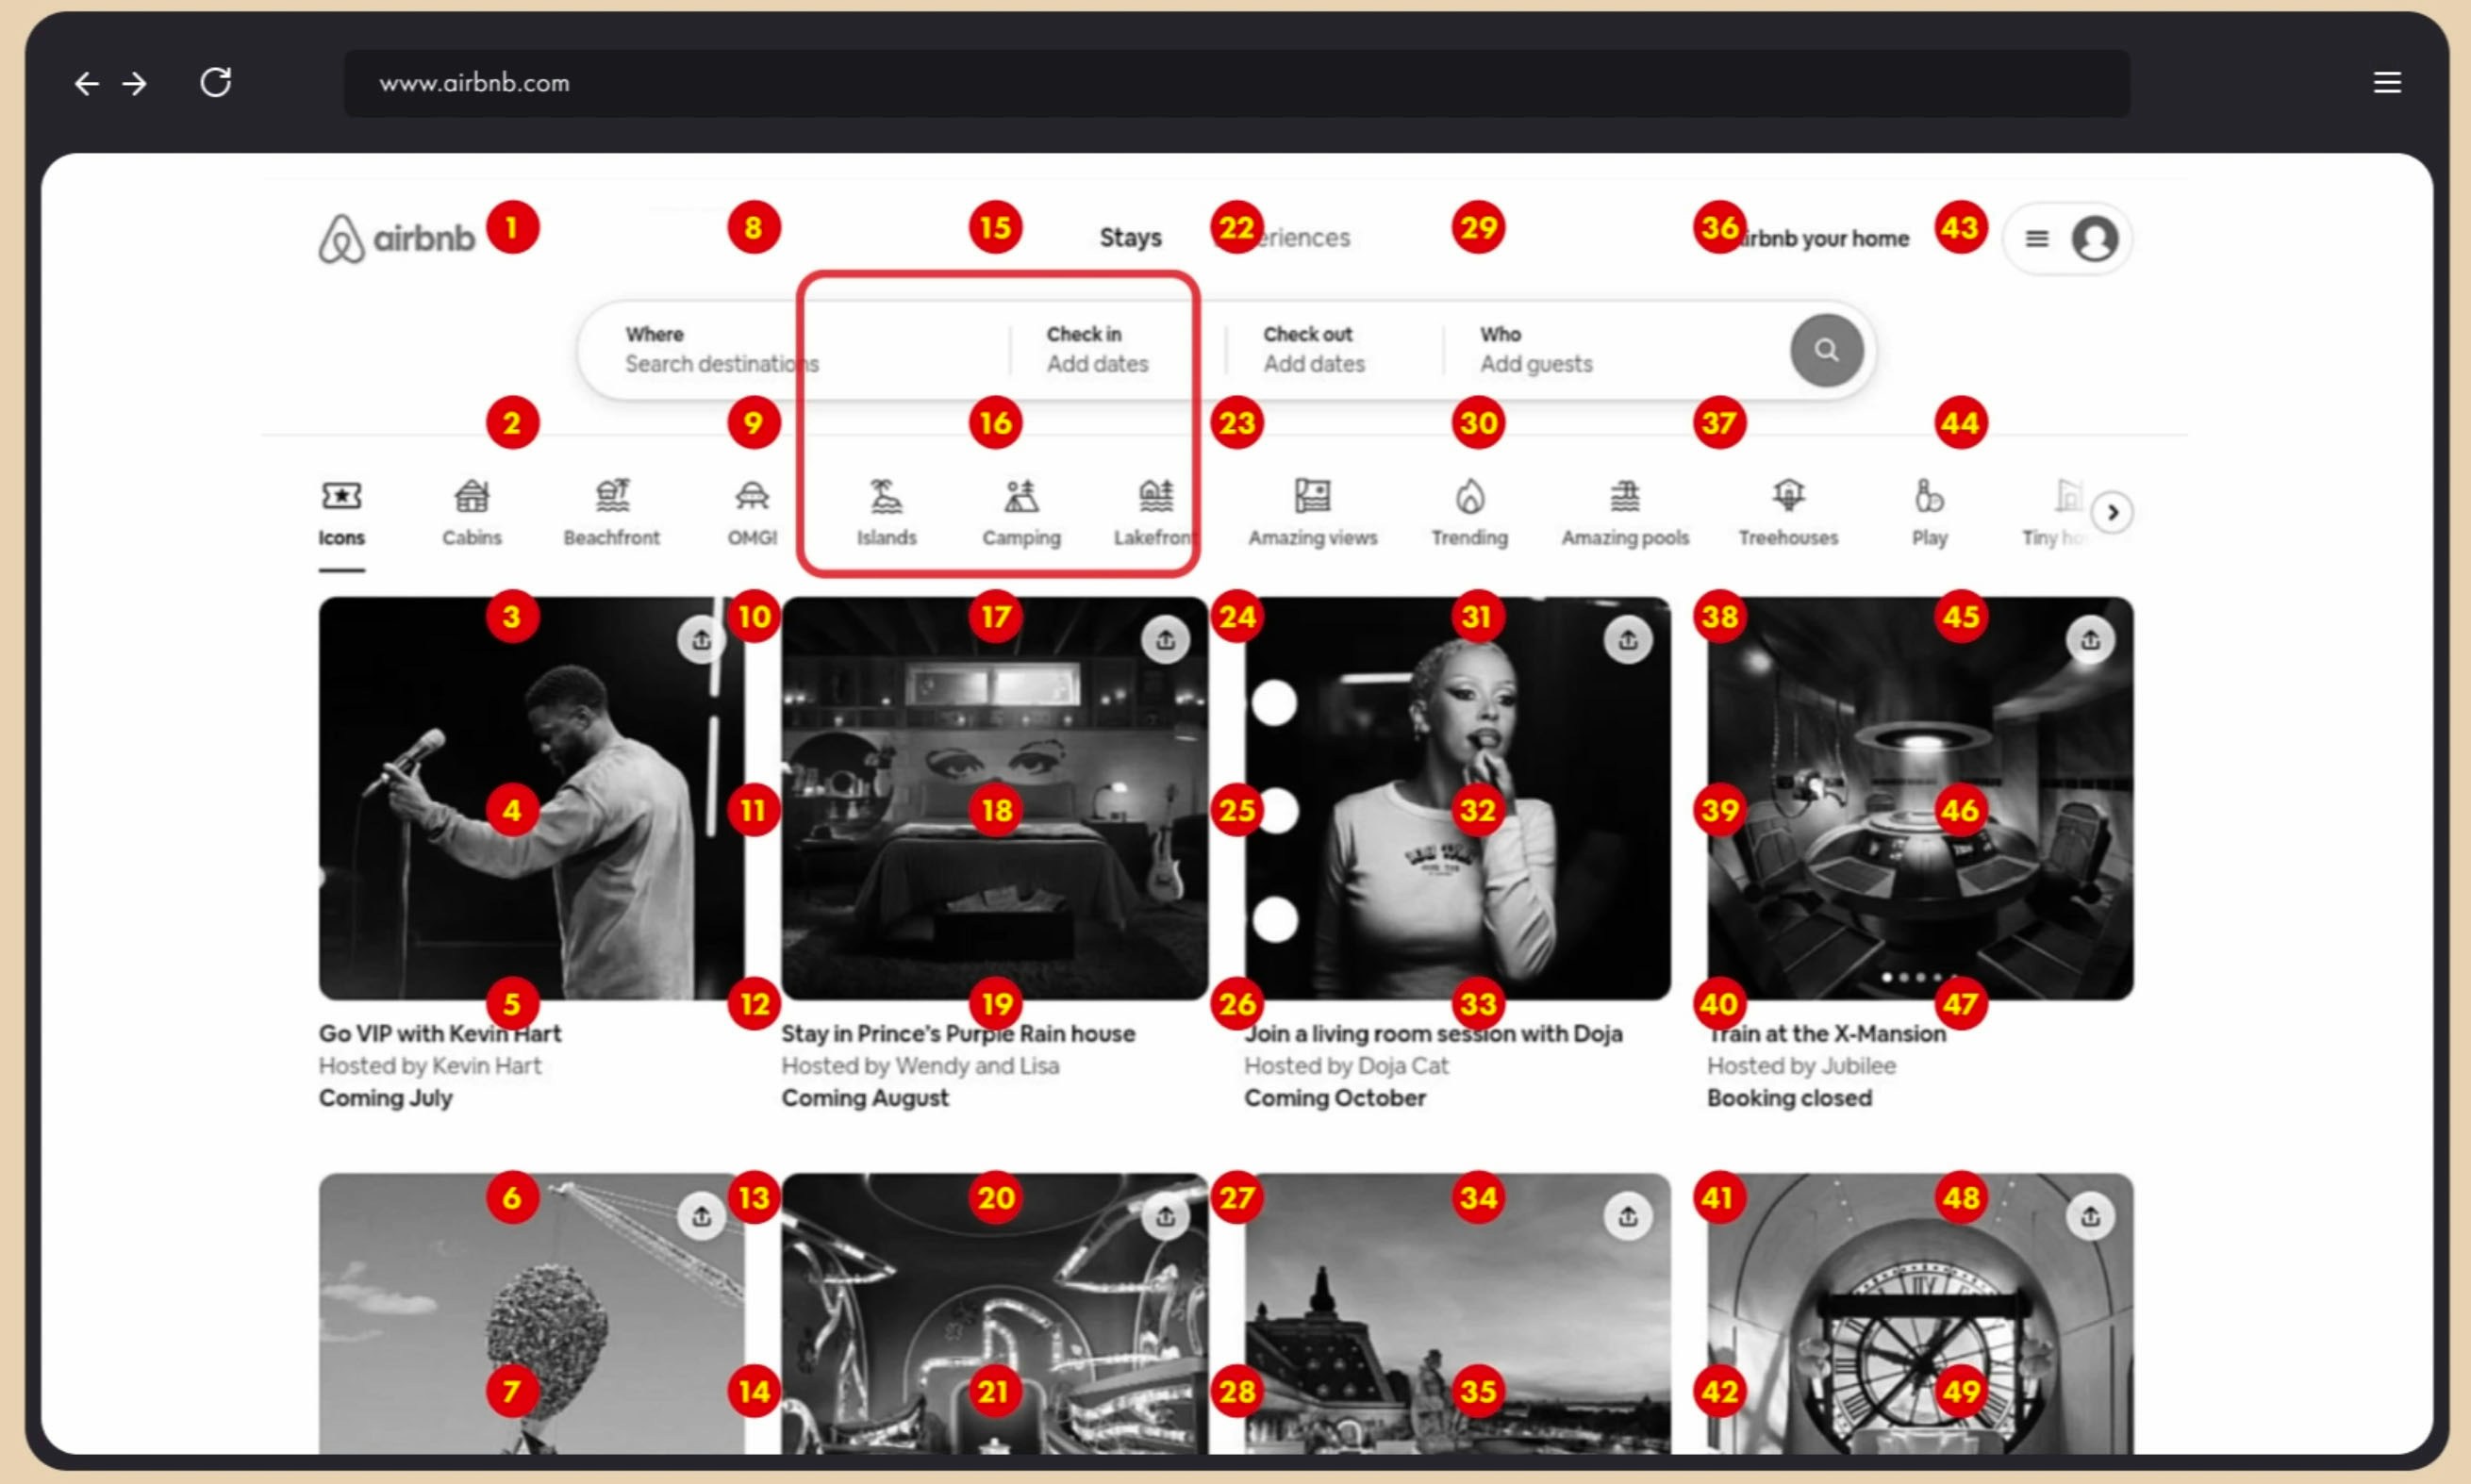
Region of Interest
Region of insert is a hybrid classic computer vision and Big Brain in the cloud approach. It’s faster than grid but still slower than OCR. In essence, it involves using canny in opencv to find all the right bounding boxes and then intelligently splitting the regions so that they show entire sections without cutting off parts of the piece of the puzzle the model is looking for at the moment. We then layer all these regions onto a grid that we call the “Jeffries Composite” and asking the model to pick the number that has the element it wants. Again, it is easier to just show you: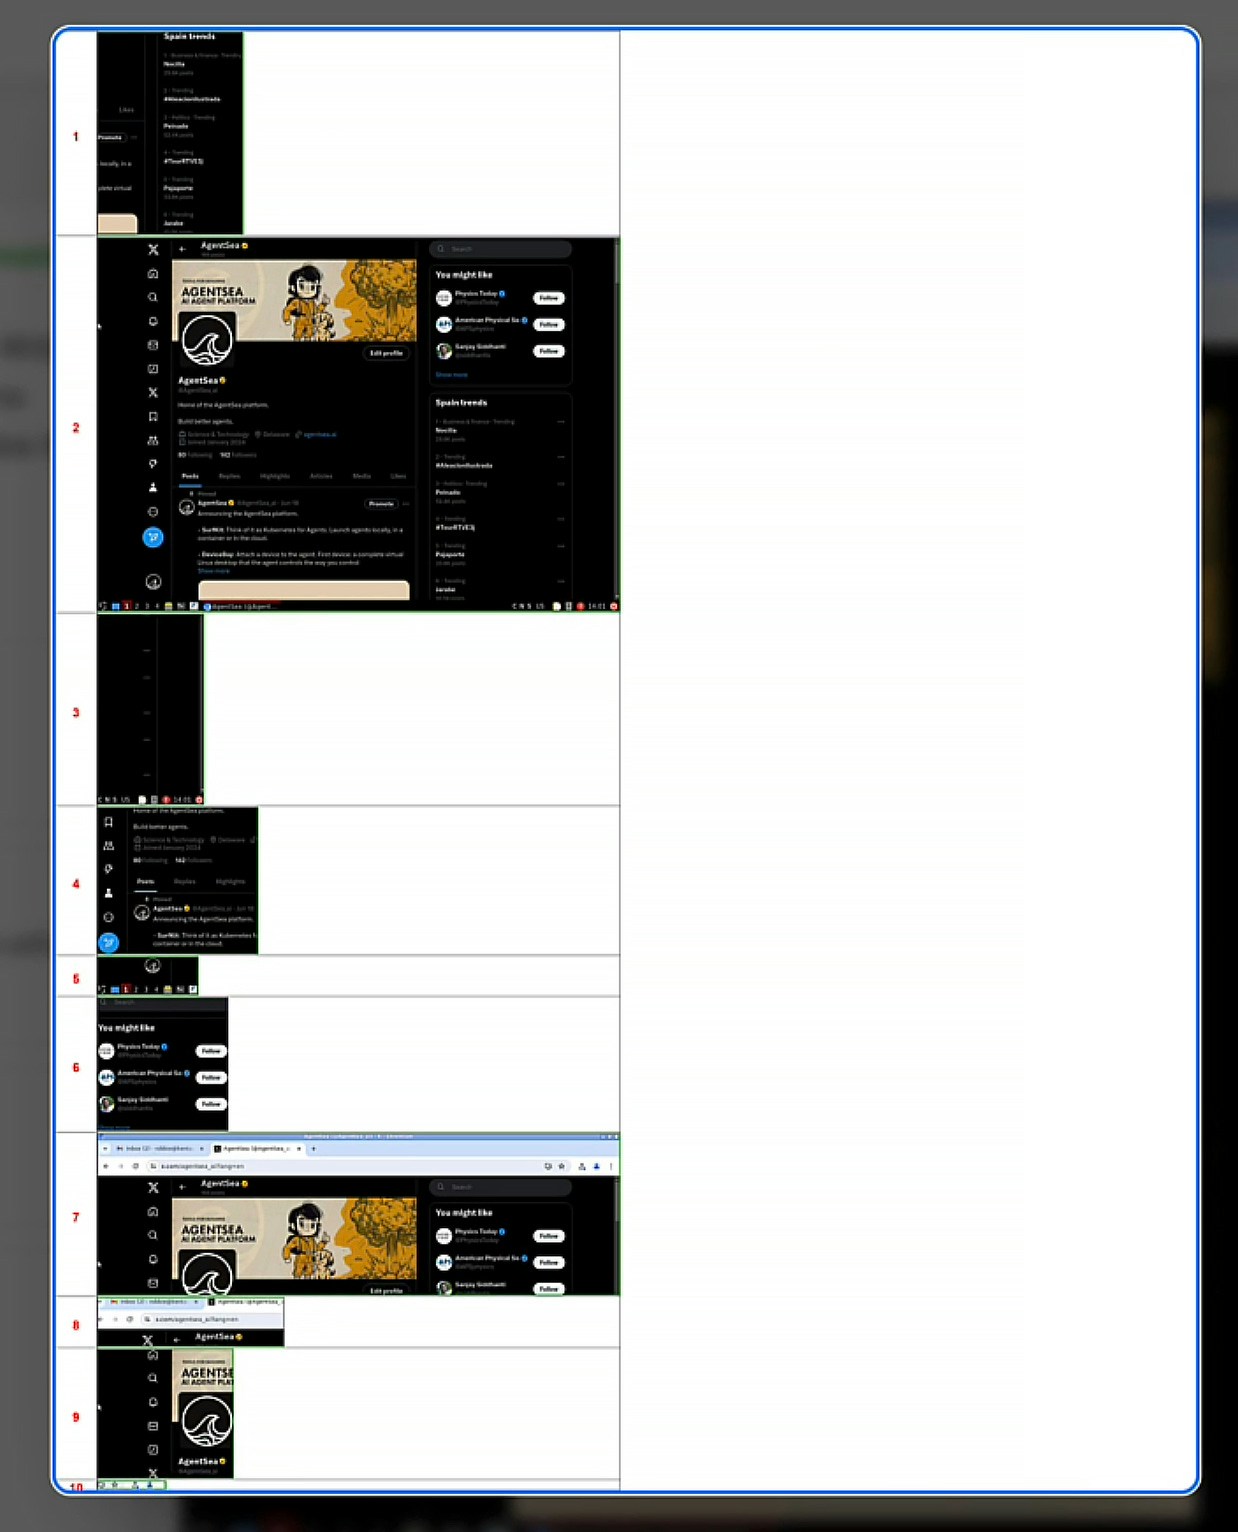
Running Robbie Gen 2
Setup
- Setup your OpenAI API key:
- Install/upgrade SurfKit:
- Clone the repository and go to the root folder:
- Install dependencies:
Creating required entities
- Create a tracker:
- Create a device:
- If you are using Docker locally:
provider flag, because docker is the default provider:
- If you are using QEMU:
- If you are using GCE:
- If you are using AWS:
- Create an agent: